Give us a call today: 416 663 4777 for a free upfront estimate!

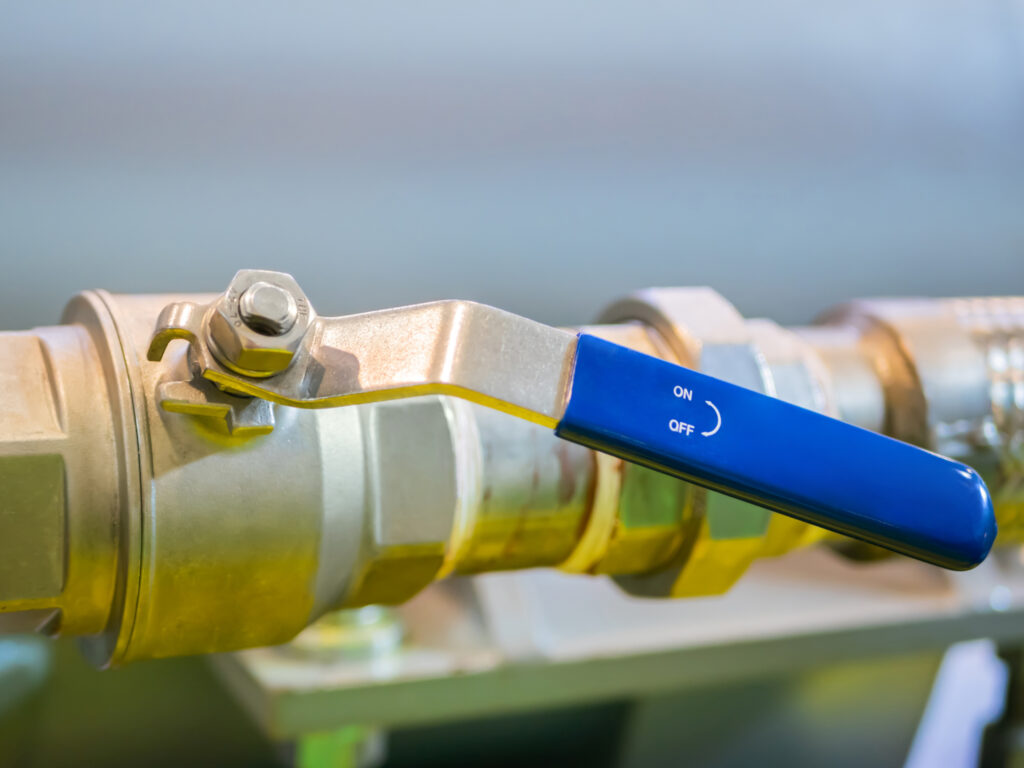
Once in a while you may have to do some soldering to water valves that are made of bronze. Even though it is sometimes confused with brass because they almost look alike, bronze a little harder and is given too many industrial uses because it is generally rust free. Bronze is basically made of copper that has been melted with tin. Just like copper, bronze water valves happen to be thicker and that means that when it comes to solder water valves made of bronze, one will actually need to work with a torch, whose size will be dependent on the size of the valve in question.
Before you begin to solder water valves you will need to begin by cleaning up the pipes using either sand paper or wool cloth so as to remove any grime, grease or dirt. Using a metal brush you must clean the insides and all the narrow spaces. The use of flux will further help to clean the areas completely in order to facilitate a proper soldering process. Since there are a variety of solders for using on water valves, you will need to choose carefully especially that which contains less then 5% lead if you are soldering a water valve. The reason for this precaution is that you want to prevent any amount of lead fro working into the drinking water eventually. The nest part of this procedure is for you to the water valve and the adjacent pipes and then using a plumbing torch you may then begin to solder the thicker pipes such as the bronze water valves you will be working on. In order to have sufficient heat to heat your water valves you must set your plumbing torch to either medium or high temperature. As soon as the torch is heated sufficiently, rotate it onto the pipes and valves, heating the joints for between 10 and 20 seconds.
After this you can proceed to apply the solder carefully. As soon as the water valves and pipes are heated you will notice the flux beginning to crackle and evaporate cueing enough time to apply the solder. After you warp the solder onto the joints it should just melt into the pipes. You then wait the solder to cool down after which you can wipe it with a rag leaving a silver band lining the solder water valve as well as the pipe marking an end to your assignment.
Dr. Pipe treats your home the way we expect workers to treat our homes. That means coordinating with you from the moment you call for a quote all the way through the final work we perform. Our team will cover and clean everything in their work area so you don’t have the added stress of a mess to tidy up, and we’ll finish as quickly and efficiently as possible. Our work speaks for itself. Check out the testimonials from past customers we’ve worked with and then call us for a no-obligation quote.
Give us a call today: 416 663 4777 for a free upfront estimate!


