
Give us a call today: 416 663 4777 for a free upfront estimate!

Kitchen Renovation Planning
OK, so you have decided that you want a kitchen renovation, now what are you going to do? We have taken it upon ourselves to offer you some suggestions about the most important steps of kitchen renovation planning. This way, you are able to avoid many of the problems that homeowners have fallen into before. By following these steps, you will get the renovated kitchen that you want.
Step #1 – Think about what you need
You need to consider what you want for your kitchen, the features, and layout that may match your lifestyle. Getting the right kitchen design is going to be a great deal of work, unless you have a specific kitchen that you want to emulate. This step is about setting priorities as well, how many people will be moving around in the kitchen, how many people will cook here?
Step #2 – Research and plan
If you are ready and know what you want, the next part of a good kitchen renovation is going to be figuring out your preliminary budget and formulating what is commonly referred to as a scope of work. You can guess here, because both are subject to change. How much work is expected to go into this renovation? With your current kitchen design, how much is going to have to change in your kitchen and what will you need to do?
Step #3 – Find the professionals that can do the job
Remember that you will likely need a professional, even if you are going the DIY route. Unless you can do your own electrical and build your own kitchen cabinets, you will need help at some point. You can go to the cabinet showrooms and see what you like, or you can hire a designer or architect to come up with some suggestions.
Step #4 – The schematic design
This step means preliminary floor plans, space planning, and sketches. It is important to remain focused, even though it can be quite tempting to talk about how the actual kitchen is going to look. You will decide how much this renovation is ultimately going to cost, how many square feet you need, and what materials will go where.
Open Kitchen Concept
Some people will always prefer when compared to a closed one. This is a matter of lifestyle and personal preference. There are different kitchen studio kinds, all with their own benefits and drawbacks. We will look at the different benefits and explain why people prefer this open-kitchen concept.
- Better for Entertaining
If you plan to entertain in your kitchen, a studio kitchen is a much better option. It allows you to interact with people while you are preparing your meal, and stay in contact with others nearby. This makes an open kitchen suitable for a contemporary and modern home. What is kitchen studio if it does not offer a great place to entertain?
- Better Lighting
There is better luminosity with an open kitchen. Because you do not have as many walls, you are able to get more natural light in the kitchen. In addition, it can lead to light coming in from the living room and dining room, because these rooms tend to have large windows.
- Choosing What Is Right For You
There is no guaranteed formula that can determine what layout is best for your home. Instead, you have to ask what might be right for you and your specific kitchen. If you start with your wants and needs, you can go from there. Because there are different kitchen studio kinds, you are not exclusively limited to one or two options. Ask yourself how you intend to use your kitchen.
There are many different kitchen studio designs, and one of the reasons for that is because everyone’s needs are different. You should not allow yourself to be pushed around because of trends. You might need some more openness in your kitchen if you are a family with kids for example.
How to Choose a Kitchen Faucet
Choosing a kitchen faucet will requires you to keep in mind some important facts.
1. Think about functionality before aesthetics when choosing a kitchen faucet
Ask yourself first if the ergonomic design, the accessories, the materials and the internal construction of the faucet is exactly appropriate to the kind of use you will put it through. Those are the criteria which will indicate whether the functionality of the faucet is appropriate for your needs. It is perfectly fine to start shopping by looking at the style and the texture of the faucet but you should always check on functionality before closing a deal with the vendor.
2. Think about how the kitchen faucet is constructed
Start out by examining its neck and spout. Are they angled and located in a way that will be convenient for you, given your physical characteristics. For kitchen sinks, faucets should be high enough to accommodate stacks of dishes. Additionally, if you sometimes fill tall jugs from the kitchen faucet, they have to fit nicely under that fixture. Also consider if the neck is just sticking out far enough for you. A short or long neck will not flow near the center of the bowl. If you want water to flow evenly throughout your bowls, the neck should just be long enough to allow you to center it on your container. If being able to adjust the angle at which water flows is important for you, get a neck that is adjustable in any direction.
3. Consider whether the accessories included are necessary for your needs.
If the faucet you are eyeing is fitted with a shower ask yourself whether you can really make use of that device. If you use fine sprays of water in preparing your dishes then you will need the shower.
4. Do you need two separate faucets for hot and cold water
If you live in a temperate country, you definitely could use an extra faucet for your hot water. However if the climate in your area is usually hot, you will probably not want to use hot water often enough to justify having an extra faucet for it.
5. Do the handles feel right for your hands
You exert less effort with rounded knobs than with the standard handles. Lever-type handles are even more convenient to use since no twisting will be involved when you turn the water on and off. However, the standard design of handles which feature three or four arms gives your kitchen faucet a wider range of water pressures that you can fine-tune.
6. Durability of materials
The most durable finish for faucets is PVD coating which protects the faucet with multiple layers of metal. The most enduring material is cast brass and the valves recommended by plumbers are ceramic.
Top materials for kitchen and bathroom renovation
Whether you are remodeling your bathroom or kitchen, the materials in the interior are what really make the room stand out. We have come up with some of the materials in the kitchen interior and the materials in the bathroom interior that we believe really make a splash.
- Granite
The host of colors and patterns and the beautiful mottling really makes every piece of granite stand out from the others. It can stand up against wear and tear, stands up against knife nicks, and guards against splashes. This is why it is one of the better materials in the kitchen interior.
- Marbl
If there is anything more glamorous than a marble countertop, we have yet to find it. It stands up to heat well and it is a great choice for your living room and your kitchen. There is a reason that it is one of the favorite materials in the interior for most designers. Even though it will not be very cheap, it is certainly worth the money if you are OK with spending a little more.
- Tile
Tile is inexpensive and modular. Both porcelain and ceramic tile offer limitless options as far as design and colors are concerned. You can make it work with almost any kitchen or any bathroom. It can resist stains, it guards against sharp blades and heat, and it is fairly easy to replace one or two cracked/chipped tiles.
- Plastic laminate
This hardwearing, durable material can survive in most kitchens and bathrooms for years. It is one of the better materials in the bathroom interior, especially because it is tough and relatively inexpensive. There are various textures, dozens of patterns, and hundreds of different colors available.
- Ceramic tile
In kitchen design, we have seen the shift towards seamless counters that require very little maintenance. Ceramic tile is a great alternative if you do not want to spend a great deal of time with maintenance and you also do not want to break the bank.
Using the latest plumbing technologies
Professional plumbers are known to use the most recent and top of the line plumbing equipment. Actually, they are exceptionally experienced and talented to be able to find the more troublesome plumbing issues. For standard issues like over streaming water, spillages et cetera; a 24-hour emergency plumbing service.
Before you ever decide to redo your kitchen, make sure that your plumbing is in perfect working order. Have the professionals at Dr. Pipe Drain and Plumbing Services take care of those needs for you, and you will find that you are able to enjoy your kitchen for many more years to come.
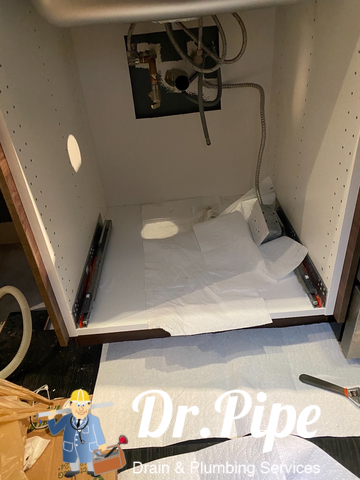
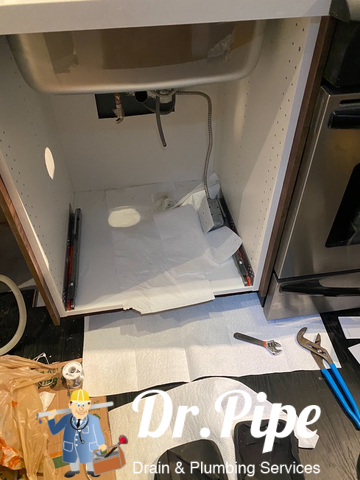
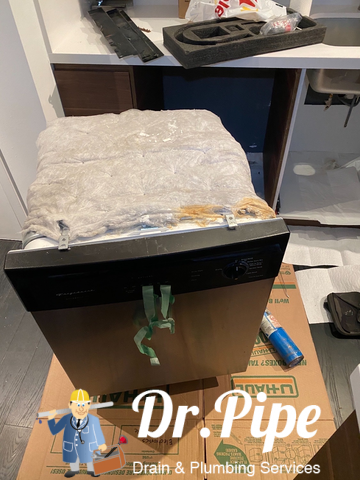
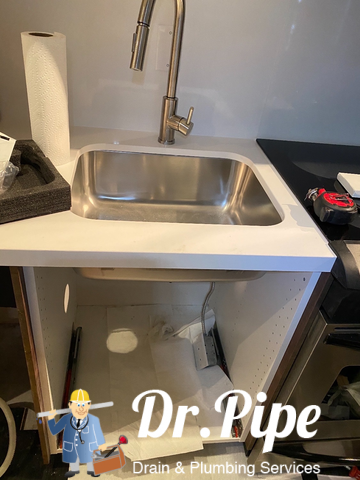
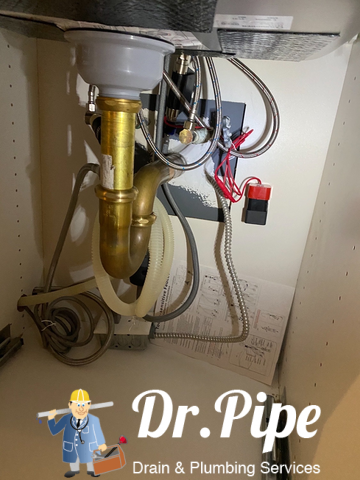
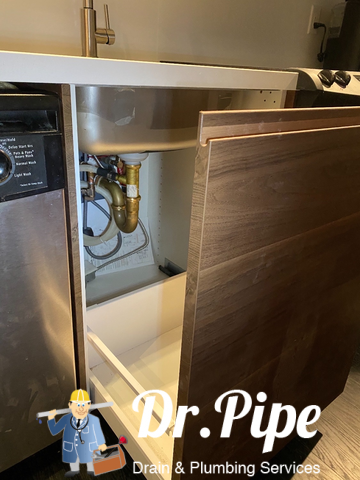
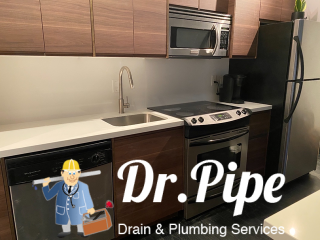
Example of Kitchen Remodeling
Plumbing Service Provided In: North York
Work Completed: kitchen sink faucet and dishwasher installation in a Condo
See Our Other Plumbing Projects
We treat your home the way we expect workers to treat our homes. That means coordinating with you from the moment you call for a quote all the way through the final work we perform. Our team will cover and clean everything in their work area so you don’t have the added stress of a mess to tidy up, and we’ll finish as quickly and efficiently as possible.
Give us a call today: 416 663 4777 for a free upfront estimate!